This guide will teach you how to use FormDen to process an existing HTML form that you have coded. You can also check out the video at the end of this page for step-by-step instructions.
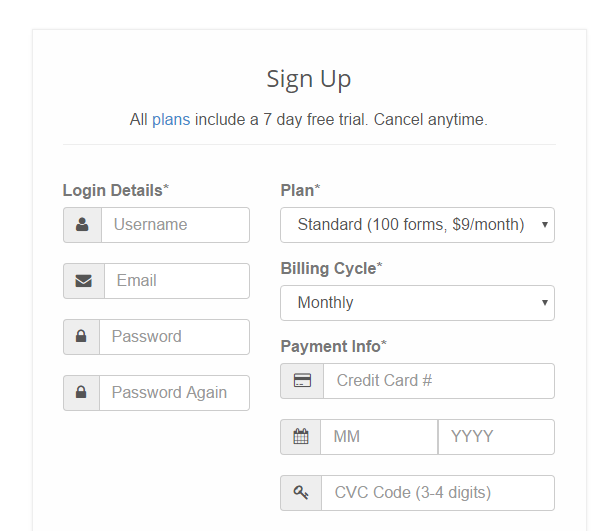
Go to the registration page to create an account. All plans include a 7 free trial so you evaluate our service (and easily cancel if needed). You will be logged in upon completion.
You will start on the "Builder" tab with a simple contact form. Delete this form and create a new form with a suitable name.

Since you already have a form, you won't need to use the form builder. Instead, you'll replace the action in your form with the unique url at the top of the screen.

Then, add the external file https://formden.com/static/cdn/formden.js to your page. This JavaScript file communicates with the Formden.com server to validate form fields when a user submits the form. It is required.
The form on your webpage should look like this:
<script type="text/javascript" src="https://formden.com/static/cdn/formden.js"></script>
<form action="https://formden.com/post/1234abcd/" method="post">
	<!-- Your form inputs here  -->
</form>
Notice that an 8-digit unique id identifies each form. This form's id is 1234abcd. Each form you process will have a different id.
If your form is rejected due to validation errors, formden.js will edit your form to display error messages. This happens automatically. Here are a few things you should know:
<div> <!--container div -->
	<label>Name</label><br />
	<input type="text" name="Name">
</div>
.help-block will be inserted below each rejected field (and within the container).
Also, the field container div will be given the class .has-error. Here is what a field with errors looks like:
<div class="has-error"> <!--container div -->
	<label>Name</label><br />
	<input type="text" name="Name">
	<p class="help-block">Error message here</p>
</div>
<style>
	.has-error{color: red;}
	.help-block{font-style: italic;}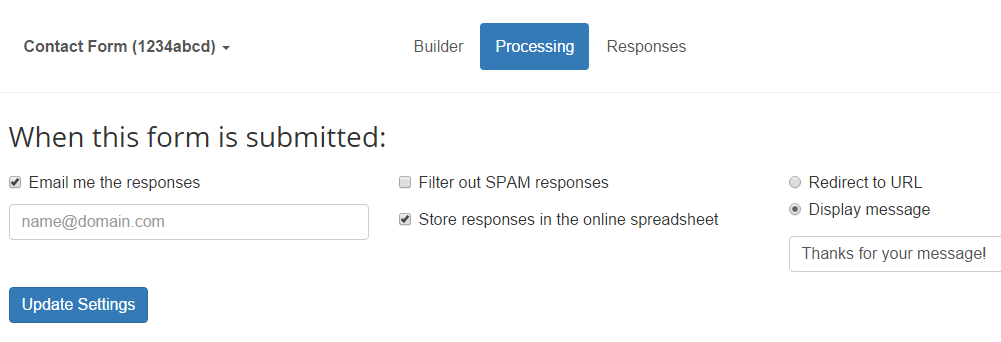
</style>.error anywhere within the container div.Click on the "Processing" tab. Then, tell us what to do with your form when it is submitted by your users to our server.
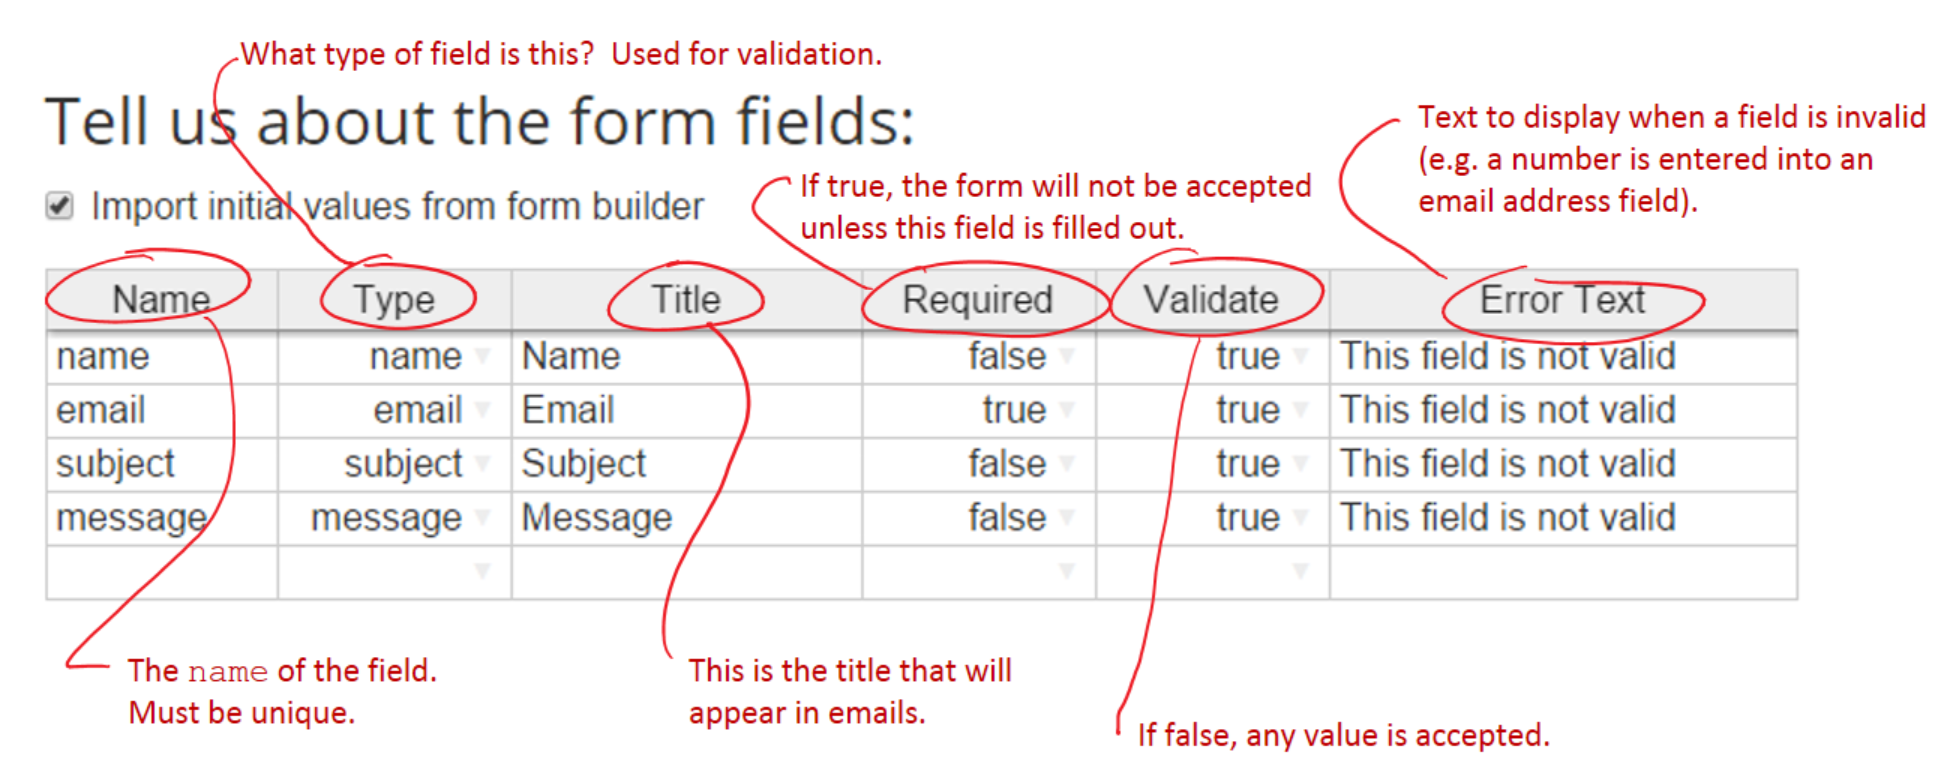
In order to process your form, we need to know some information about the fields it contains. Since you aren't using the form builder, you'll need to enter these manually. The first three columns are the most important.
The name is the name that each HTML form field is required to have. The name must be unique. The other fields are described in the screenshot below.
Test the form that you edited in Step 3. Fill out your form with some test values and submit the form.
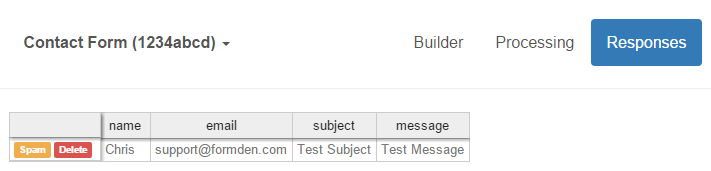
Click on the "Responses" tab. Any responses should appear in the spreadsheet. There is a column for every field. If you elected to have responses emailed to you, you will find an email in your mailbox.
If you need help, please get in touch.
© 2014-2020 Pareto Software, LLC | Blog | Bootstrap Form Builder